Beginner’s Guide to Espresso Grinders (2025)
Last updated: December 12, 2025
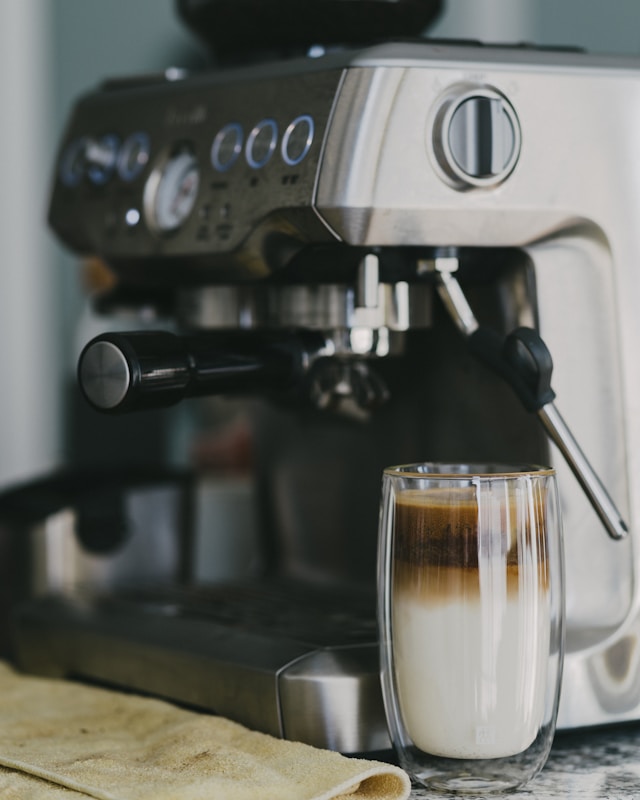
Most beginners obsess over which espresso machine to buy and treat the grinder as an afterthought. In reality, the grinder has equal, and often greater, influence on the taste of your espresso. A capable machine paired with an inconsistent grinder will always lose to a modest machine paired with a well-tuned burr grinder.
This guide explains why the grinder matters so much, how burr grinders work, what features to look for, and how to use grind size adjustments to dial in sweet, balanced espresso shots at home. There are no product links here — the goal is to give you a framework so that any future purchase is deliberate instead of random.
Why the Grinder Matters More Than You Think
Espresso is extremely sensitive to grind size. The water meets the coffee grounds for only 25–35 seconds. If the particles are uneven, water races through the gaps, over-extracts the finest particles, and leaves the rest under-extracted. The result is a shot that is sour, bitter, or both, no matter how expensive the machine is.
A good espresso grinder solves this by producing a narrow, consistent range of particle sizes that resist channeling and allow the water to extract evenly. Think of it as the “lens” that focuses everything your machine is capable of.
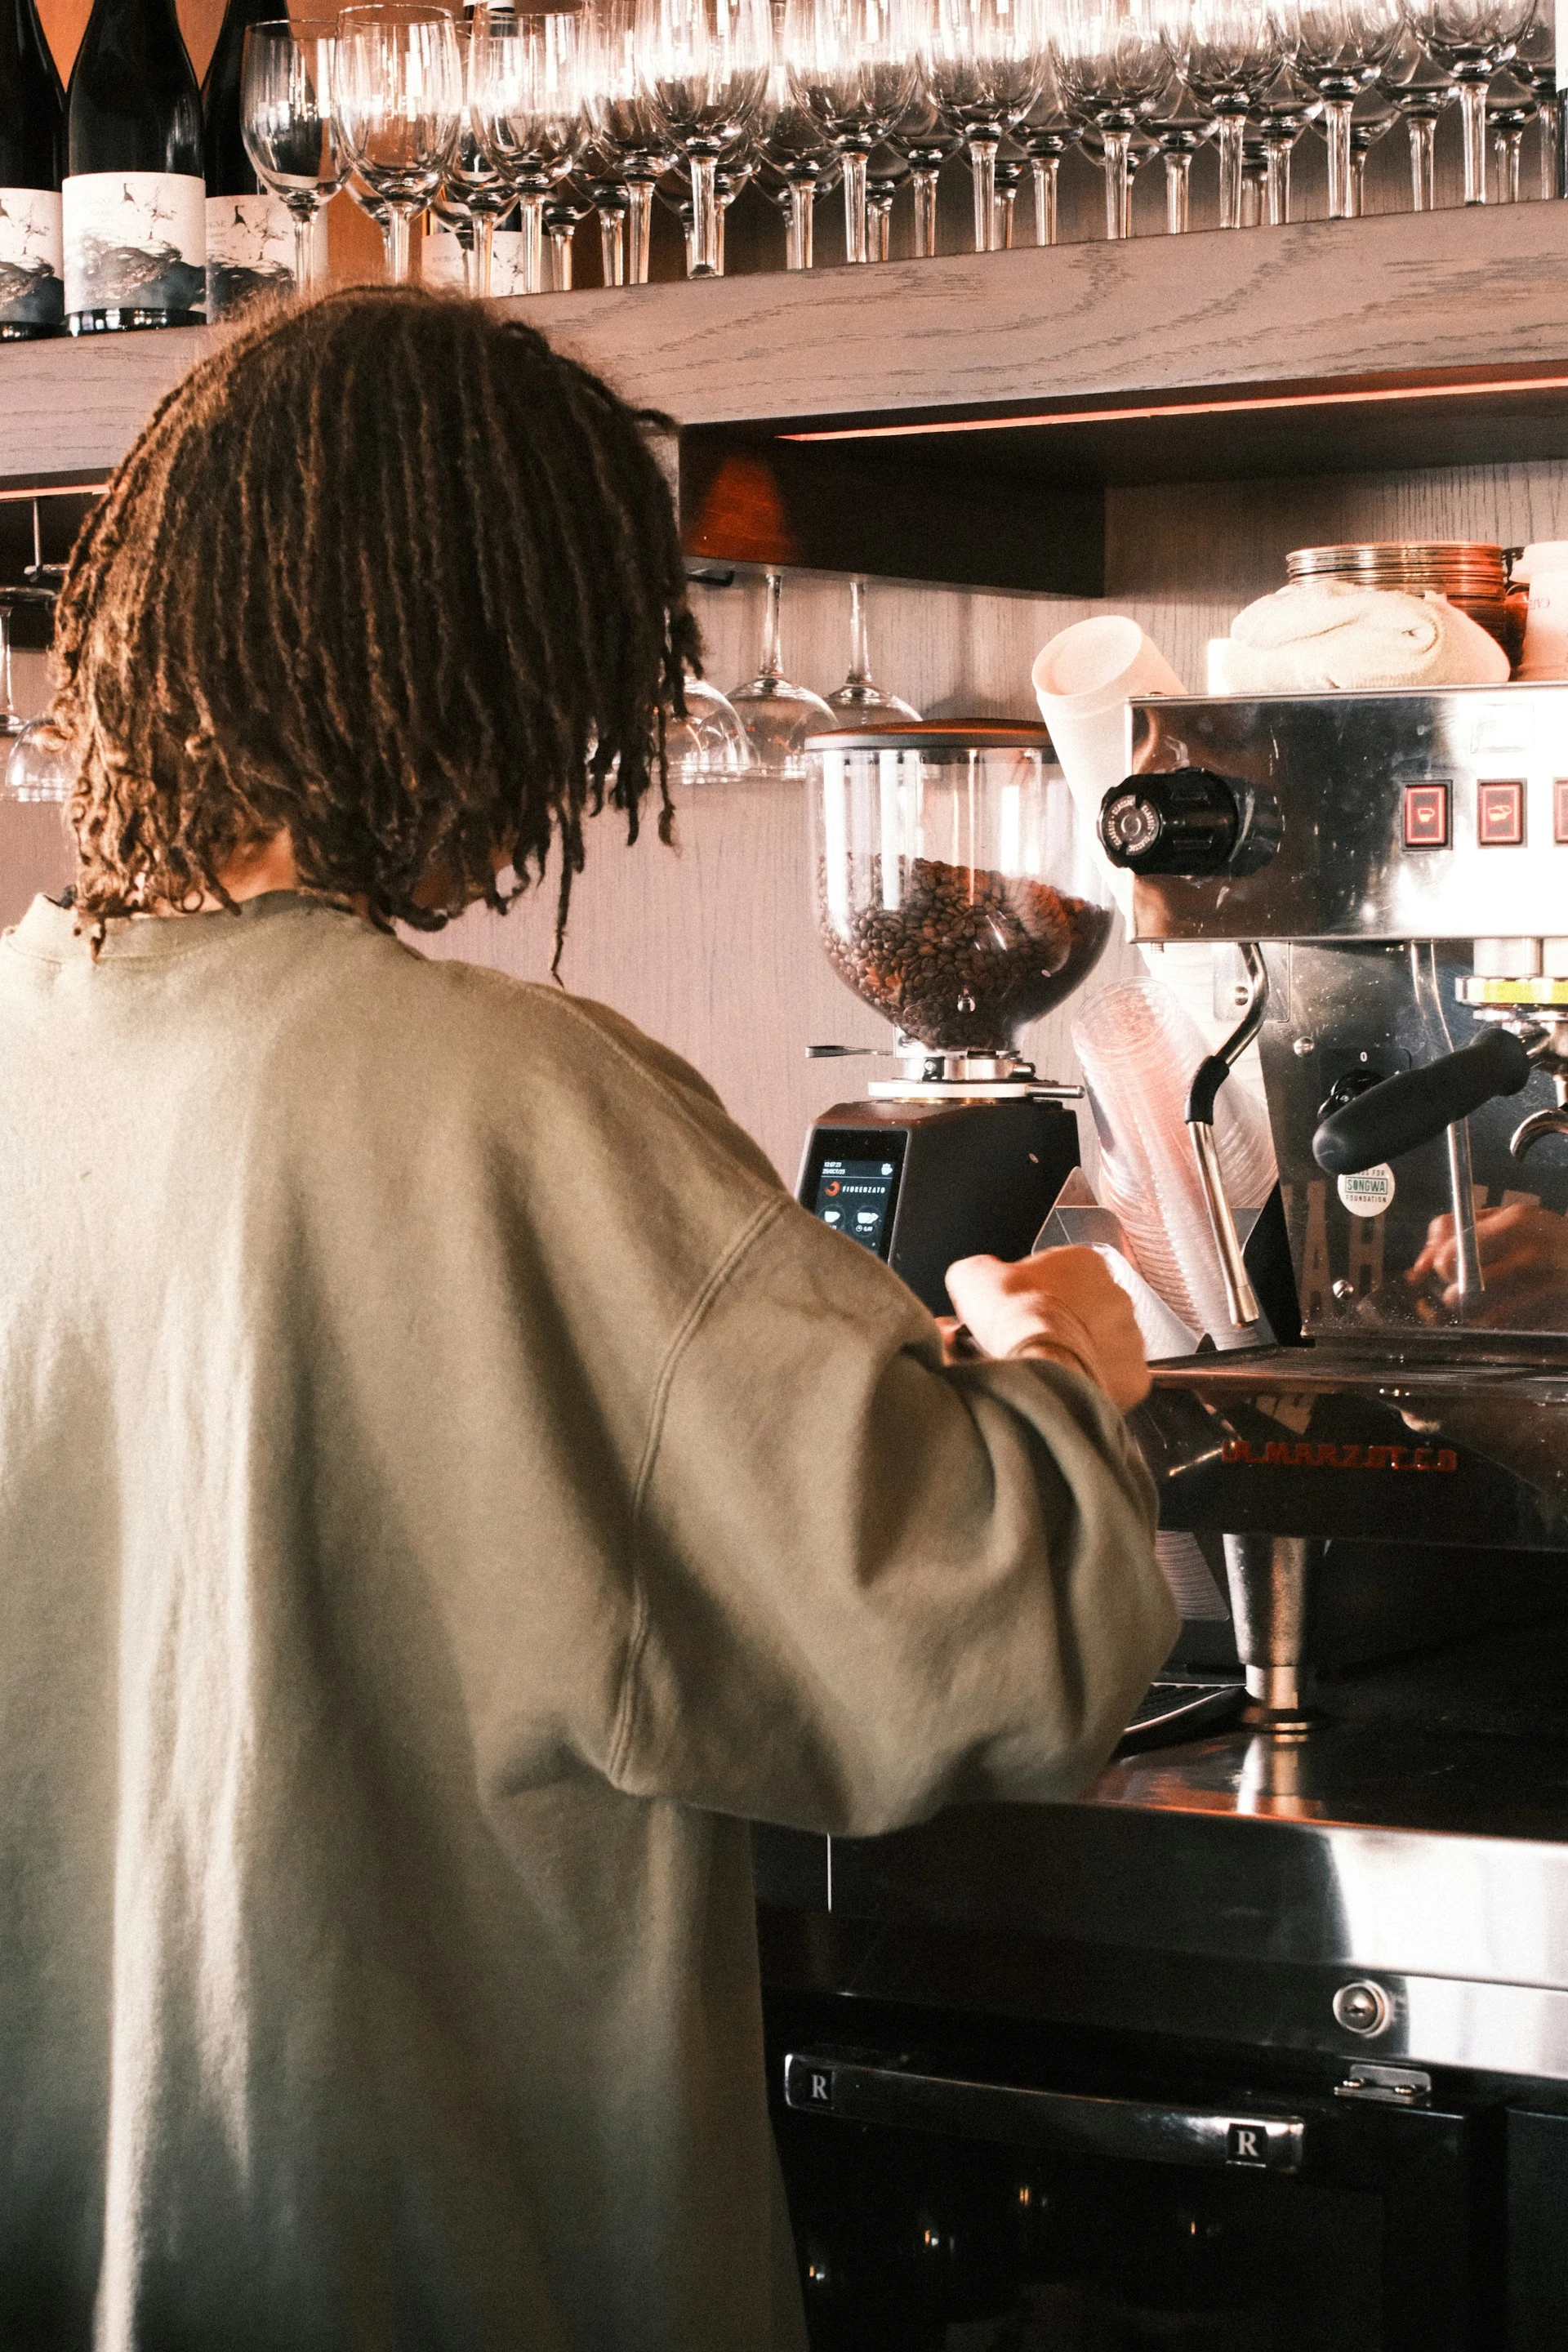
Burr vs Blade Grinders: What’s the Difference?
Most supermarket “coffee grinders” are actually spinning blade choppers. They work like a small blender: a metal blade hacks beans into random fragments until you stop the motor. You end up with dust and boulders in the same dose — the opposite of what espresso needs.
Blade Grinders
- Chop instead of grind, producing highly uneven particles
- Generate heat that can degrade aroma in dark roasts
- Offer almost no precise control over grind size
- Acceptable for French press or drip in emergencies, but not for espresso
Burr Grinders
Burr grinders crush beans between two abrasive surfaces (burrs). The gap between the burrs determines particle size, which you can adjust with a collar, knob, or digital interface.
- Create much more consistent particles
- Allow fine, repeatable adjustments for dialing in espresso
- Produce better flavor clarity and balance
- Available as electric countertop units or hand grinders
For espresso, a burr grinder is non-negotiable. If your current setup relies on a blade grinder, upgrading the grinder will usually yield a bigger flavor improvement than upgrading the machine.
Flat vs Conical Burrs: Does It Matter for Beginners?
Modern espresso grinders use either flat burrs or conical burrs. Both can produce excellent results when engineered well, and for most home users the difference is subtle compared to simply having a good burr grinder versus a bad one.
Conical Burrs
- Often quieter and easier to drive with smaller motors
- Common in compact home and hand grinders
- Can retain slightly more grounds inside the chute
Flat Burrs
- Typically found in larger, café-style grinders
- Can have very precise, uniform particle distribution
- Often a bit louder and bulkier for home use
As a beginner, you do not need to chase a specific burr geometry. Focus on finding a grinder that can reliably grind fine enough for espresso, allows micro-adjustments, and fits your space and budget.
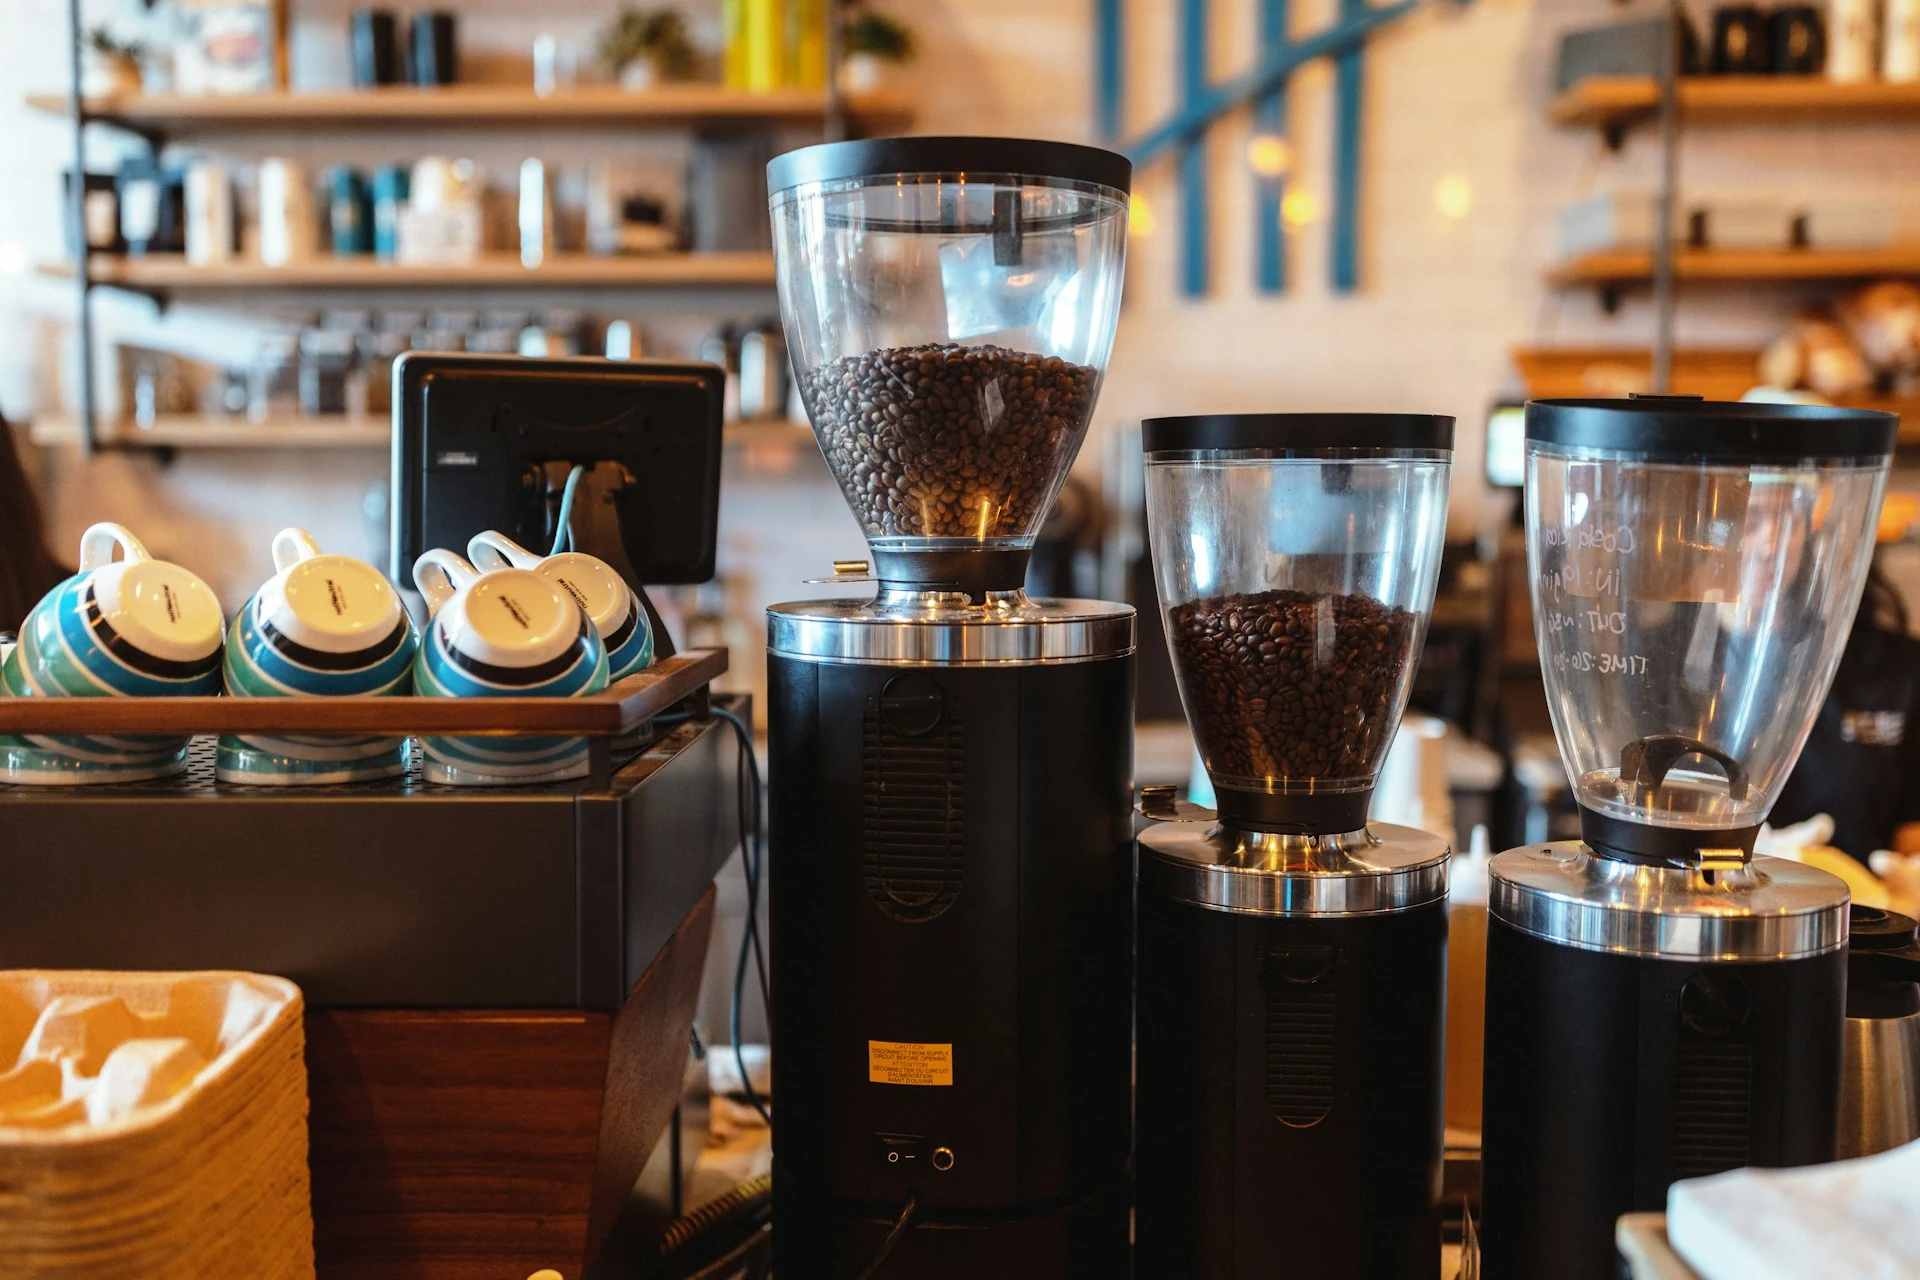
Key Features to Look For in an Espresso Grinder
When you start comparing models, it is easy to get lost in marketing terms. The features below are the ones that actually affect daily use for home espresso.
1. Stepless vs Stepped Adjustment
Grinders adjust grind size in two main ways. Stepped grinders have fixed clicks or numbered settings. Stepless grinders let you move the burrs continuously without fixed stops.
- Stepped: easier for beginners, but sometimes one step is slightly too coarse and the next is slightly too fine.
- Stepless: offers infinite precision for dialing in, but requires a bit more patience and a light touch.
Either can work well. For your first grinder, prioritize a model with adjustments fine enough that a tiny change in setting results in a noticeable change in shot time.
2. Espresso-Capable Grind Range
Not all coffee grinders can grind fine enough for espresso. Check that the manufacturer explicitly mentions espresso support. If you already own a grinder and shots run extremely fast even at the finest setting, it may simply not be designed for true espresso.
3. Grind Retention and Single Dosing
“Retention” is the coffee that stays trapped inside the grinder after grinding. High retention makes it hard to change beans or adjust recipes because old grounds keep mixing with new ones.
- Look for chutes with short paths and minimal dead space.
- Some grinders are marketed as “single-dose” — optimized for grinding one portion at a time with low retention.
4. Dosing System
Entry-level grinders often use a basic timer. Higher-end home grinders may offer programmable dosing by time or weight. If consistency matters to you, the ability to reproduce the same dose helps eliminate one more variable when dialing in shots.
5. Noise, Size, and Build Quality
A grinder that sounds like a jet engine at 6 a.m. might not be appreciated by the rest of the household. When possible, check videos or user reviews for real-world noise levels and scale. Consider:
- Height under kitchen cabinets
- Hopper size vs how much coffee you actually store
- Stability of the grind adjustment mechanism over time
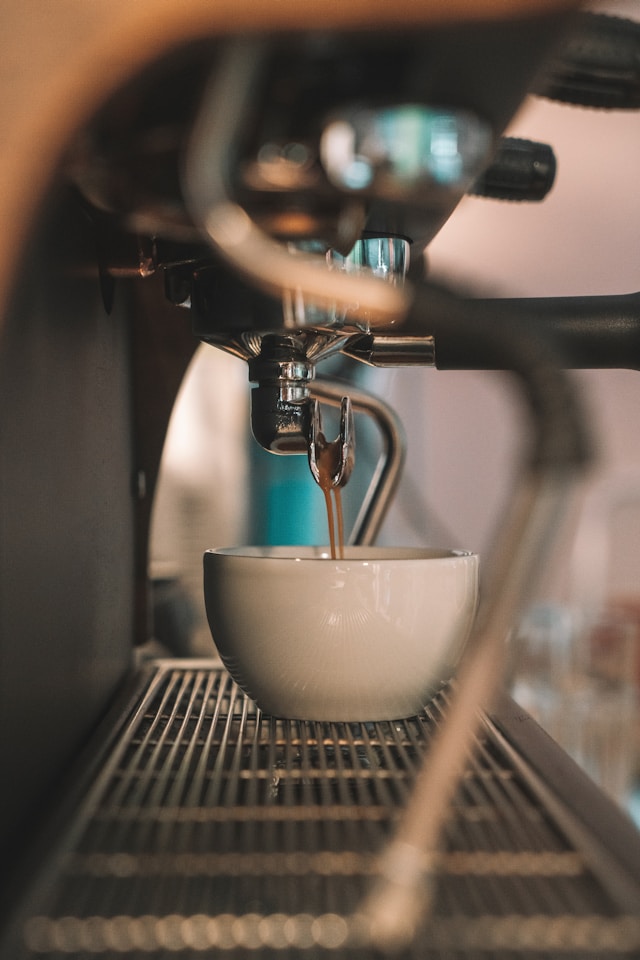
How Grind Size Affects Your Espresso
Once you have an espresso-capable grinder, the real work begins: learning how grind size, dose, and yield interact. For now, we will focus on grind size, assuming a typical recipe of 18 grams in and around 36 grams out in 25–30 seconds.
If the Shot Runs Too Fast
- Espresso tastes thin, sour, or underdeveloped
- Crema is pale and dissipates quickly
- Solution: grind finer in small steps and keep other variables constant
If the Shot Runs Too Slow
- Espresso tastes harsh, bitter, or overly intense
- Crema is extremely dark and thick
- Solution: grind slightly coarser, or reduce dose if you are already near the coarsest acceptable setting
If the Shot Starts Fast, Then Chokes
This can indicate clumping or channeling. Distribute the grounds more evenly in the basket, break up clumps with a distribution tool or simple toothpick, and tamp level before adjusting grind further.

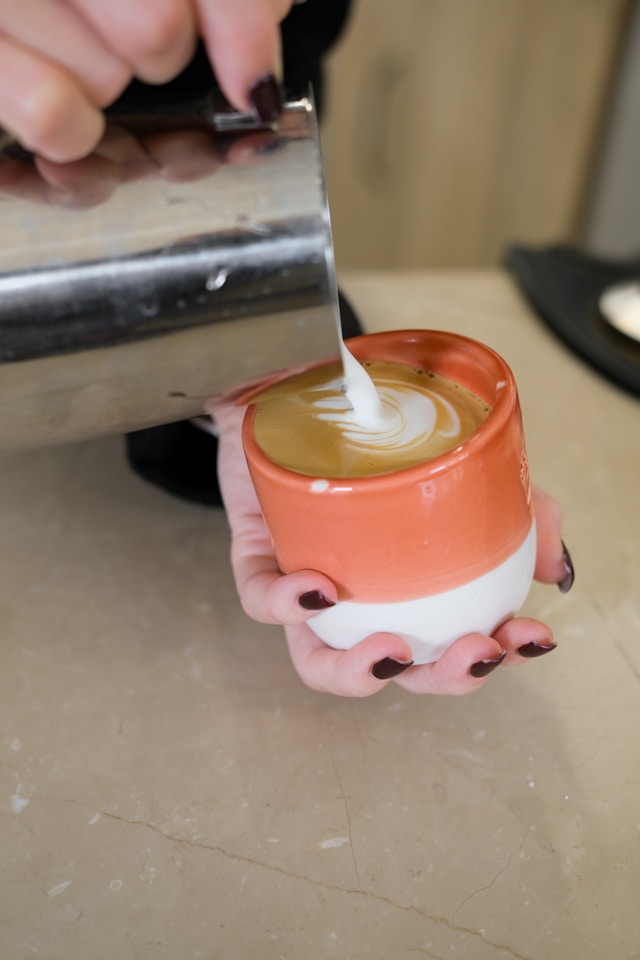
Simple Dial-In Routine for New Grinders
When you first set up a grinder or switch beans, use a structured routine instead of random adjustments. Here is a straightforward process for beginners:
- Choose a starting recipe. For example, 18 g in / 36 g out in 28 seconds.
- Set a medium-fine grind. If the grinder has an “espresso” icon or range, start in the middle of that.
- Pull a test shot. Record dose, yield, and time — even if the shot is bad.
- Adjust grind only. If time is shorter than target, go finer; if longer, go coarser. Make small changes.
- Repeat 2–3 times. Once you are close on time, begin tasting and adjusting to preference: slightly finer for more intensity, slightly coarser for a lighter, sweeter shot.
By changing only one variable at a time, you quickly learn how your grinder responds and avoid the confusion of multiple moving parts.
Basic Grinder Maintenance for Consistent Results
Over time, coffee oils and fine particles build up around the burrs and chute. If you never clean the grinder, stale residue can affect taste and make grind settings less predictable.
Weekly or Bi-Weekly Tasks
- Brush loose grounds from the burr chamber and chute
- Vacuum the hopper and surrounding areas with a small handheld vacuum (when unplugged)
- Wipe exterior surfaces with a dry or slightly damp cloth
Monthly or Every Few Kilograms of Coffee
- Use grinder cleaning pellets according to the manufacturer’s instructions (if supported)
- Remove upper burrs (if accessible) and carefully brush away compacted residue
- Check that screws and adjustment collars remain tight and do not drift during use
Always unplug the grinder before opening any panels or touching the burrs. When in doubt, follow the user manual — some manufacturers restrict home disassembly in order to protect warranty coverage.
Hand Grinders vs Electric Grinders for Espresso
Modern hand grinders have improved dramatically. Many compact models now offer precise burr sets, stepless adjustment, and low retention, making them a serious option for home espresso — especially if you pull only a few shots per day.
- Hand grinders: inexpensive, quiet, portable, but require manual effort and can be tiring for multiple back-to-back shots.
- Electric grinders: faster and more convenient, but larger, louder, and typically more expensive.
If budget is tight, a well-engineered hand grinder paired with a capable entry-level espresso machine is often the most cost-effective way to get high-quality shots at home.
Final Thoughts: Start With the Grinder
If you remember only one idea from this guide, let it be this: a great grinder plus a modest machine beats a great machine plus a weak grinder. Grind consistency, fine control, and basic maintenance will improve your espresso more than any single “pro” feature on the machine.
Take the time to choose a grinder that truly supports espresso, learn how its settings affect flow and flavor, and keep notes during your first weeks of dialing in. Once you trust your grinder, every other part of the espresso puzzle becomes easier.